Prepping your wood furniture for paint- Part 1
Now that you purchased your vintage solid wood piece from the thrift shop or yardsale, its time to paint it! Now you may be wondering what steps you should take before slapping paint on. This blog is dedicated to tell you all the possible steps you may need to take before painting. I am not an expert! This is a guide purely from trial and error in my venture of refurbishing furniture!
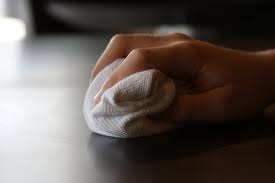
The very fist step to take is to remove all hardware and put aside. Lay a plastic or cloth drop cloth (or whatever you have) where you plan to work on your project. Next, wipe down the piece with a microfiber cloth, if you have one, to remove dust and dirt. If needed, use a degreasing cleaning product to remove any oily film and let dry. Now you are ready to sand!
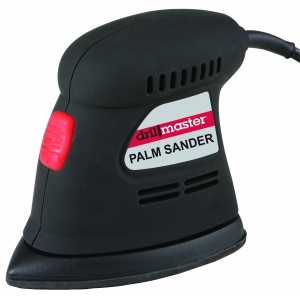
Not only does sanding smooth the surface and even it out, it also roughens up the previous top coat to allow better paint adhesion. I personally like to use my hand sander as it takes a lot of the work away from this process. It also shortens the time spent sanding times ten! I own the sander pictured above. It’s from Harbor Freight (one of my favorite stores) and costs about $19.99. Cheaper than most! It has lasted me over a year thus far and still going strong! Plus I prefer the pointed tip to get in tight spaces and the Velcro pad attachment.
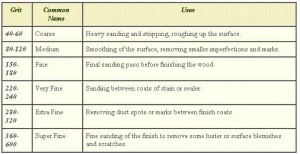
Now there many different grits of sand paper for different purposes. As I said, we are sanding at this point mainly to roughen the surface and remove the sheen to allow better adhesion for the paint. Remember the lower the number, the courser the grit and vice versa.
Sandpaper grit chart
Above is a helpful chart to picking which grit to use. Most likely the package will tell you! For roughing up surfaces I use 60-80 grit. After you are done, wipe surface with damp cloth to remove dust.
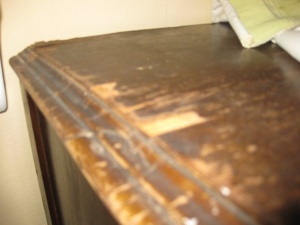
Now because this piece has probably been around for years, it may have some damage. There are varying degrees of damage and various products to fix them. The piece above would require a product called wood filler. 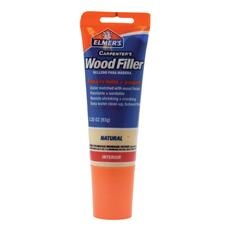 I typically use Elmer’s in natural. This product is used to fill the dings, cracks, and chips. Push the product in with your finger and smooth with putty knife. It’s ok if it is not level with the surface. Once it completely dries you can sand it with a fine grit. You may also need to add multiple layers if gorge is deep. Allow to dry in between layers. This brand is around $4.75. It’s non-shrinking and paintable/stainable. It also doesn’t have the tendency to dry up in tube.
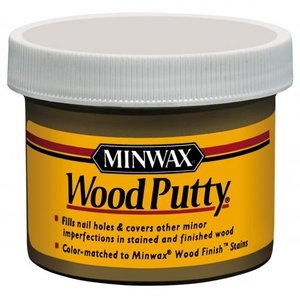
There there is another hole filler called wood putty. This is what you use when filling nail holes and other minor imperfections on stained and finished wood. It is tinted so you would match it to the color of your furniture. It doesn’t dry and harden like filler but takes stain a lot better. Filler is best used when painting. The Minwax wood putty pictured is a popular brand and costs around $9.97 at major retailers.
The damage to you furniture may be a bit more extensive than chips and scratches. Some vintage pieces were made with a veneer top which could be coming unglued. It also may have decorative pieces falling off or trim. It may be missing a corner or have a corner cracked to the point you will have to remove it and reattach. The best way to reattach these pieces is to use an adhesive. As with most things, there are different types of adhesive that work best for different materials. These are the three I use regularly.
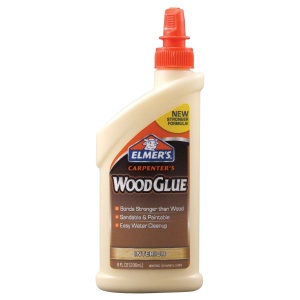
The best adhesive for gluing wood to wood is…wood glue, imagine that! Lol I personally like Elmer’s carpenter wood glue. Made for use with porous surfaces such as soft and hard wood as well as particle board. You will obtain the strongest bond when two pieces are clamped while drying. Takes 1-2 hours to set. It dries hard which makes it sandable and paintable. This brand runs around $2.97.
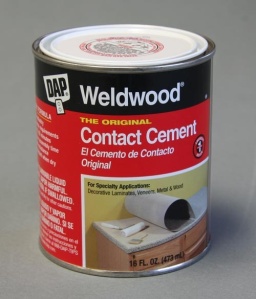
My favorite adhesive for nonporous surfaces is DAP contact cement. It makes an immediate, permanent bond when it is applied to both surfaces, allowed to dry to touch for 30 minutes, and pressed together. Don’t believe me? Try it! 😉 Best used on plastic, metal, rubber, glass, vinyl, leather, veneer, laminate, particle board and any nonporous material glued to wood. This brand usually costs around $9.59 for one quart. This type of contact cement has a very strong odor! I would use outdoors!
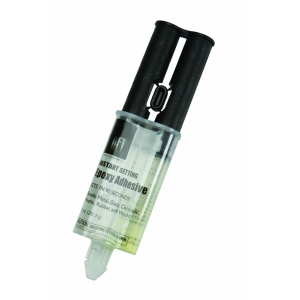
The strongest permanent adhesive is an epoxy. It is also used on nonporous surfaces and can bond wood. It is a two part adhesive of resin and a hardening agent. It has about a 5 minute work life and is waterproof when set. Costs about $3.99 for one ounce.
Hopefully this hasn’t made your head spin yet! Now for the worst kind of wood damage is rotted wood. Luckily, this is fixable using two types of products- a wood hardener and an epoxy wood filler.
There are different types of hardeners. I am focusing on two that I am familiar with. The first is an acrylic based like Minwax wood hardener. It penetrates wood to bond to decayed fibers and block moisture. I would rate this type of hardener for light repair.
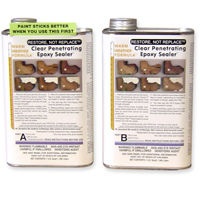
The best type of hardener for more extensive rot damage, it is best to use an epoxy hardener. It turns cellulose into epoxy impregnated cellulose that is waterproof and resists fungi. This type penetrates wood deeper than acrylic. it will say CPES (clear penetrating epoxy sealer) on bottle. Both should be applied until wood can absorb no more And let dry. Minwax costs around $12.99 and Smith’s Original CPES is about $42.99. 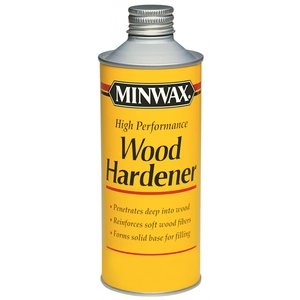
The next step is to fill the surface with an epoxy filler like PC Products Woody Wood Epoxy Paste. Once it dries it mimics wood and can be painted, sanded, stained, nailed, and sawed. It dries within 24 hours and can be used indoors and outdoors. It costs about $22.99 for 12 ounces.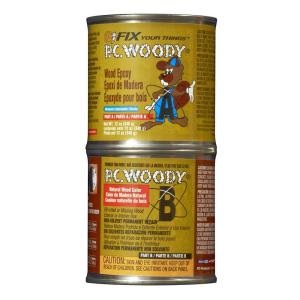
Okay, now that our wood piece of furniture is repaired and sanded, it’s time to move on to the next step, priming and painting! Follow my blog for my next how to on priming and painting! Coming soon!
Thanks for stopping by! Hope you enjoyed! Would love to see your comments on this topic!


Recent Comments